Bus Traffic Fever Guide: Level Walkthroughs & Answers
Bus Traffic Fever is a color-matching parking puzzle — dispatch the bus whose color matches the passenger group at the front of the queue, clear each parking slot, and empty the level. When a stage stalls, this guide has the dispatch order and video answers to get you unstuck.
Enter a level number between 1 and 292.
Bus Traffic Fever Level Walkthroughs
Search by level number, scan the range below, or open a popular stage. Each guide shows the dispatch order — which bus to send first, which slot it takes, and the exact color sequence that clears the level.
Bus Traffic Jam Situations Explained
🎨 Color Matching
Read the front passenger color and dispatch the matching bus. Get this one habit down and every later level follows.
Levels 1 · 2 · 5🚌 Blocked Buses
The bus you need is often parked behind another. Clear the exposed bus first, then the inner bus comes free.
Levels 10 · 14 · 33🔁 Returning Colors
One color shows up twice or three times in a single queue. Clear each group when it reaches the front — never batch them.
Levels 13 · 15 · 37🅿️ Slot Management
Parking slots are limited. Hold one open for the color still to come, or a wrong park jams the whole level.
Levels 21 · 24 · 30📋 Order Discipline
Follow the queue front to back and skip the fast-looking shortcut. Clearing out of order breaks the sequence.
Levels 17 · 20 · 28🧩 Six-Color Levels
Later levels run six colors with no repeats, so re-read the queue after every single dispatch.
Levels 25 · 29 · 40 1
1Level 1: The First Match
View Guide → 2
2Level 2: The Color Call
View Guide →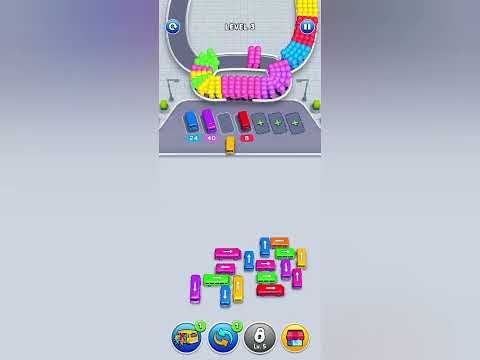 3
3Level 3: The Slot Opener
View Guide → 4
4Level 4: The Paired Buses
View Guide → 5
5Level 5: The Color Key
View Guide →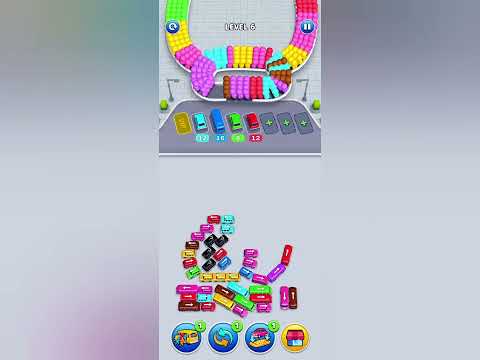 6
6Level 6: The Hidden Bus
View Guide → 7
7Level 7: The Chain Clear
View Guide → 8
8Level 8: The Blocked Duo
View Guide → 9
9Level 9: The Cross Pickup
View Guide → 10
10Level 10: The Corner Queue
View Guide → 11
11Level 11: The Bottleneck
View Guide →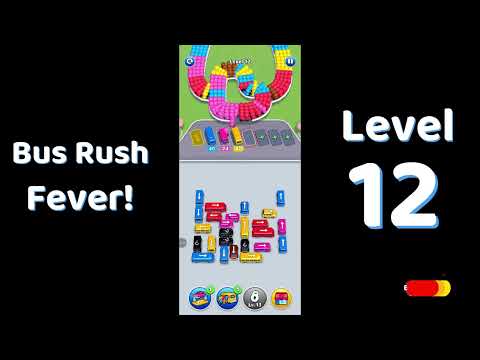 12
12Level 12: The Big Clear
View Guide → 13
13Level 13: The Color Maze
View Guide → 14
14Level 14: The Rear Reveal
View Guide → 15
15Level 15: The Long Queue
View Guide → 16
16Level 16: The Squeeze
View Guide → 17
17Level 17: The Wrong Order
View Guide → 18
18Level 18: The Key Blocker
View Guide →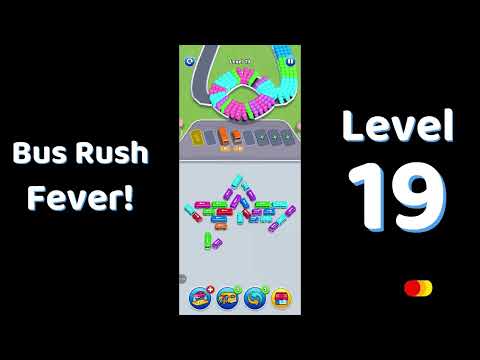 19
19Level 19: The Two-Color Level
View Guide →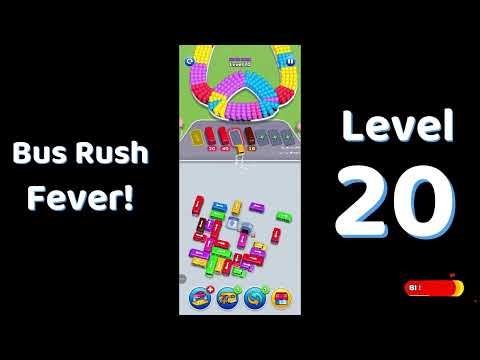 20
20Level 20: The Layered Queue
View Guide → 21
21Level 21: The First Slot
View Guide →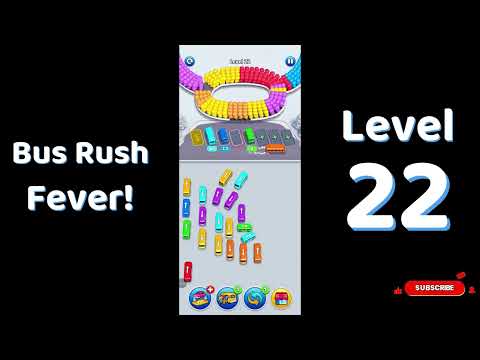 22
22Level 22: The Queue Opener
View Guide → 23
23Level 23: The Mid Fix
View Guide → 24
24Level 24: The Final Spot
View Guide → 25
25Level 25: The Slot Order
View Guide → 26
26Level 26: The Color Sequence
View Guide →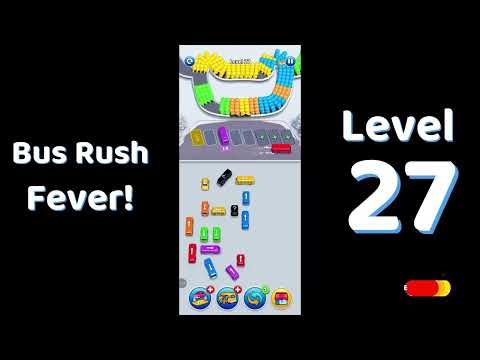 27
27Level 27: The Queue Catch
View Guide → 28
28Level 28: The Full Level
View Guide → 29
29Level 29: The Mid Reset
View Guide →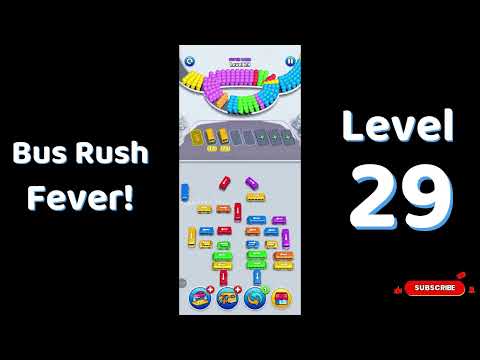 30
30Level 30: The Last Slot
View Guide → 31
31Level 31: The Opening Queue
View Guide → 32
32Level 32: The Color Corridor
View Guide → 33
33Level 33: The Inner Ring
View Guide → 34
34Level 34: The Full Grid
View Guide → 35
35Level 35: The Rush Fix
View Guide → 36
36Level 36: The Final Split
View Guide → 37
37Level 37: The Rolling Queue
View Guide →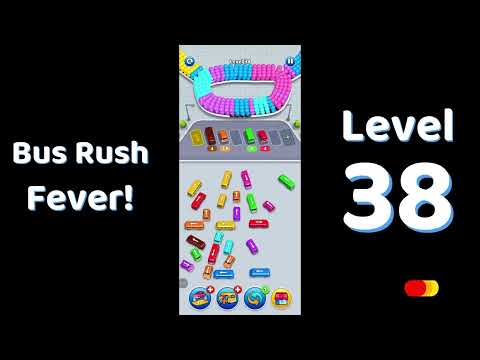 38
38Level 38: The Gridlock Clear
View Guide → 39
39Level 39: The Final Ring
View Guide →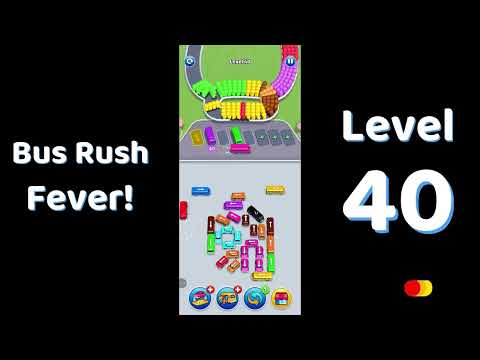 40
40Level 40: The Last Queue
View Guide → 41
41Level 41: The Purple Pair
View Guide → 42
42Level 42: The Slot Chain
View Guide → 43
43Level 43: The Eight-Vehicle Line
View Guide → 44
44Level 44: The Mirror Wave
View Guide → 45
45Level 45: The VIP Finish
View Guide → 46
46Level 46: The Nine-Vehicle Level
View Guide → 47
47Level 47: The Five-Bus Line
View Guide → 48
48Level 48: The Triple Green
View Guide → 49
49Level 49: The Double Orange
View Guide → 50
50Level 50: The Seven-Bus Chain
View Guide → 51
51Level 51: The Red VIP Finish
View Guide → 52
52Level 52: The Mid-Queue VIP
View Guide → 53
53Level 53: The Cyan Split
View Guide → 54
54Level 54: The Hard Seven
View Guide → 55
55Level 55: The Plus-First Level
View Guide → 56
56Level 56: The Black Lead
View Guide → 57
57Level 57: The Mixed-Slot Order
View Guide → 58
58Level 58: The Four-Then-Three
View Guide → 59
59Level 59: The Car-Bus Mix
View Guide →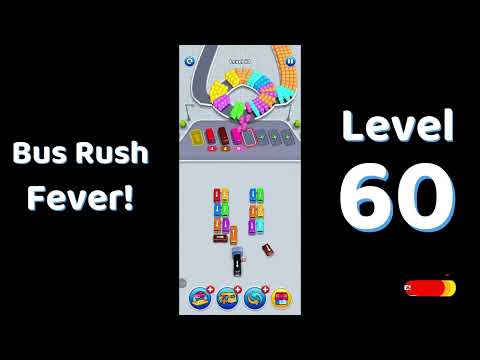 60
60Level 60: The Seven-Plus Finish
View Guide → 61
61Level 61: The Emerald Pair
View Guide → 62
62Level 62: The Amber Trio
View Guide → 63
63Level 63: The Sapphire Quartet
View Guide → 64
64Level 64: The Ruby Group
View Guide → 65
65Level 65: The Violet Cluster
View Guide → 66
66Level 66: The Ivory Chain
View Guide → 67
67Level 67: The Onyx Link
View Guide → 68
68Level 68: The Coral Wave
View Guide → 69
69Level 69: The Teal Split
View Guide → 70
70Level 70: The Magenta Fork
View Guide → 71
71Level 71: The Olive Stack
View Guide →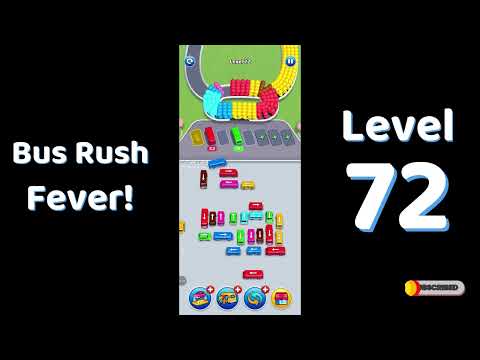 72
72Level 72: The Slate Layer
View Guide → 73
73Level 73: The Gold Return
View Guide → 74
74Level 74: The Silver Repeat
View Guide → 75
75Level 75: The Bronze Cascade
View Guide → 76
76Level 76: The Crimson Merge
View Guide → 77
77Level 77: The Indigo Divide
View Guide → 78
78Level 78: The Peach Shuffle
View Guide → 79
79Level 79: The Mint Sweep
View Guide → 80
80Level 80: The Lavender Press
View Guide → 81
81Level 81: The VIP Opener
View Guide → 82
82Level 82: The Plus Priority
View Guide → 83
83Level 83: The Slot Gate
View Guide → 84
84Level 84: The Reserved Lane
View Guide → 85
85Level 85: The Premium Queue
View Guide → 86
86Level 86: The Priority Shift
View Guide → 87
87Level 87: The Front Slot
View Guide → 88
88Level 88: The Back Slot
View Guide → 89
89Level 89: The Corner VIP
View Guide → 90
90Level 90: The Mid-Lane VIP
View Guide → 91
91Level 91: The Double Plus
View Guide → 92
92Level 92: The Slot Reserve
View Guide → 93
93Level 93: The Gated Entry
View Guide → 94
94Level 94: The Priority Merge
View Guide → 95
95Level 95: The VIP Cascade
View Guide → 96
96Level 96: The Plus Chain
View Guide → 97
97Level 97: The Slot Bridge
View Guide → 98
98Level 98: The Reserved Spot
View Guide → 99
99Level 99: The Premium Finish
View Guide → 100
100Level 100: The Priority Sweep
View Guide → 101
101Level 101: The Stacked Line
View Guide → 102
102Level 102: The Return Wave
View Guide → 103
103Level 103: The Repeating Color
View Guide → 104
104Level 104: The Nested Queue
View Guide → 105
105Level 105: The Deep Line
View Guide → 106
106Level 106: The Folded Queue
View Guide → 107
107Level 107: The Twin Layers
View Guide → 108
108Level 108: The Color Return
View Guide → 109
109Level 109: The Echo Queue
View Guide → 110
110Level 110: The Ripple Line
View Guide → 111
111Level 111: The Recoil
View Guide → 112
112Level 112: The Backtrack
View Guide → 113
113Level 113: The Second Pass
View Guide → 114
114Level 114: The Revisit
View Guide → 115
115Level 115: The Queue Depth
View Guide → 116
116Level 116: The Layered Fill
View Guide → 117
117Level 117: The Return Order
View Guide → 118
118Level 118: The Echo Chain
View Guide → 119
119Level 119: The Fold Order
View Guide → 120
120Level 120: The Queue Unfold
View Guide → 121
121Level 121: The Fleet Line
View Guide → 122
122Level 122: The Column Move
View Guide → 123
123Level 123: The Convoy
View Guide → 124
124Level 124: The Caravan
View Guide → 125
125Level 125: The Bus Fleet
View Guide → 126
126Level 126: The Mixed Convoy
View Guide → 127
127Level 127: The Long Column
View Guide → 128
128Level 128: The Fleet Order
View Guide →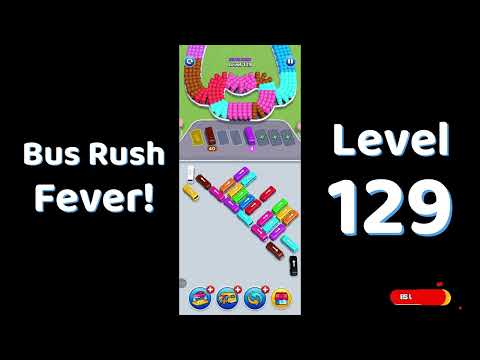 129
129Level 129: The Convoy Split
View Guide → 130
130Level 130: The Caravan Wave
View Guide → 131
131Level 131: The Bus Column
View Guide → 132
132Level 132: The Fleet Merge
View Guide → 133
133Level 133: The Convoy Turn
View Guide →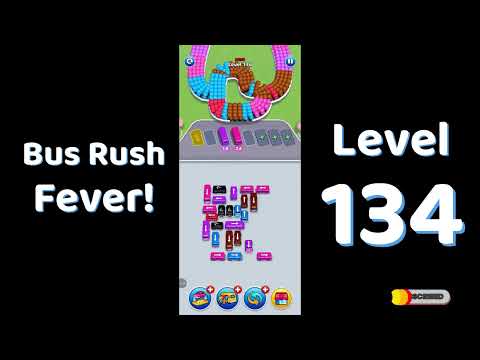 134
134Level 134: The Long Fleet
View Guide → 135
135Level 135: The Mixed Line
View Guide → 136
136Level 136: The Column Shift
View Guide → 137
137Level 137: The Fleet Finish
View Guide → 138
138Level 138: The Convoy Chain
View Guide → 139
139Level 139: The Bus Wave
View Guide → 140
140Level 140: The Column Rush
View Guide → 141
141Level 141: The Twin Wave
View Guide → 142
142Level 142: The Cascade Clear
View Guide → 143
143Level 143: The Wave Order
View Guide → 144
144Level 144: The Ripple Clear
View Guide → 145
145Level 145: The Double Wave
View Guide → 146
146Level 146: The Wave Split
View Guide → 147
147Level 147: The Clear Sweep
View Guide → 148
148Level 148: The Surge
View Guide → 149
149Level 149: The Ebb
View Guide → 150
150Level 150: The Wave Chain
View Guide → 151
151Level 151: The Cascade Line
View Guide → 152
152Level 152: The Sweep Order
View Guide →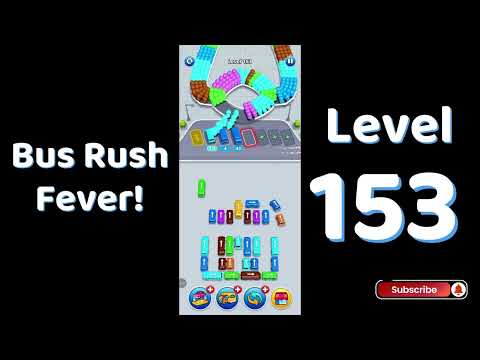 153
153Level 153: The Twin Sweep
View Guide → 154
154Level 154: The Mirror Clear
View Guide → 155
155Level 155: The Wave Rush
View Guide → 156
156Level 156: The Clear Surge
View Guide → 157
157Level 157: The Ebb Flow
View Guide → 158
158Level 158: The Wave Finish
View Guide →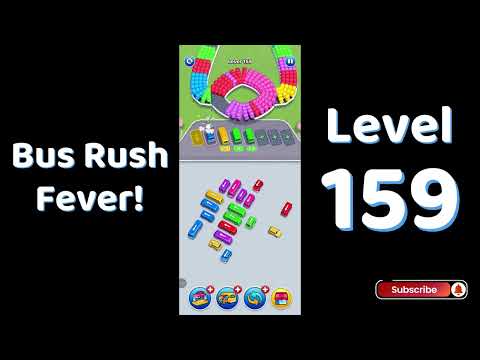 159
159Level 159: The Cascade Rush
View Guide → 160
160Level 160: The Ripple Finish
View Guide → 161
161Level 161: The Order Gate
View Guide → 162
162Level 162: The Sequence Lock
View Guide → 163
163Level 163: The Discipline Test
View Guide → 164
164Level 164: The Order Shift
View Guide → 165
165Level 165: The Sequence Split
View Guide → 166
166Level 166: The Lock Step
View Guide → 167
167Level 167: The Order Chain
View Guide → 168
168Level 168: The Sequence Gate
View Guide → 169
169Level 169: The Discipline Chain
View Guide → 170
170Level 170: The Order Rush
View Guide →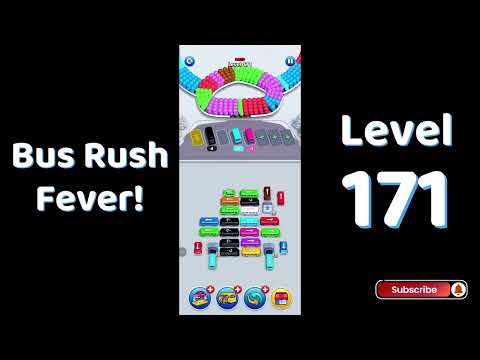 171
171Level 171: The Sequence Sweep
View Guide → 172
172Level 172: The Lock Order
View Guide → 173
173Level 173: The Order Finish
View Guide → 174
174Level 174: The Sequence Rush
View Guide → 175
175Level 175: The Discipline Finish
View Guide → 176
176Level 176: The Lock Chain
View Guide → 177
177Level 177: The Order Wave
View Guide → 178
178Level 178: The Sequence Merge
View Guide → 179
179Level 179: The Lock Rush
View Guide → 180
180Level 180: The Order Cascade
View Guide → 181
181Level 181: The Corridor Run
View Guide → 182
182Level 182: The Color Lane
View Guide → 183
183Level 183: The Hall Clear
View Guide → 184
184Level 184: The Passage
View Guide →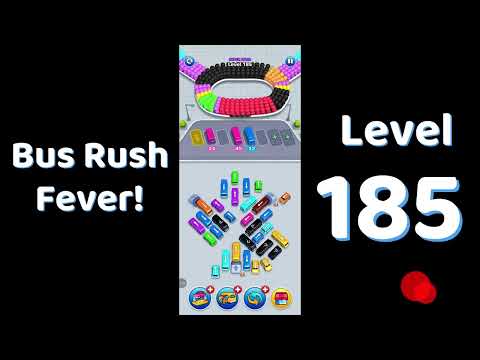 185
185Level 185: The Color Hall
View Guide →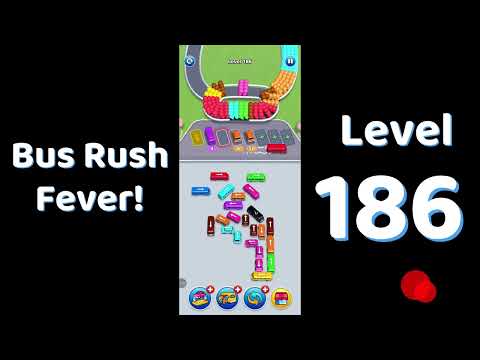 186
186Level 186: The Lane Split
View Guide → 187
187Level 187: The Corridor Chain
View Guide → 188
188Level 188: The Color Gate
View Guide → 189
189Level 189: The Hall Rush
View Guide → 190
190Level 190: The Lane Order
View Guide →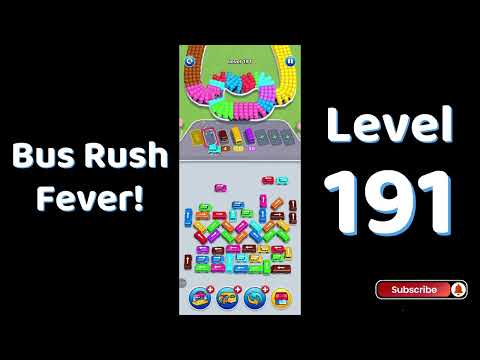 191
191Level 191: The Passage Clear
View Guide → 192
192Level 192: The Color Corridor Run
View Guide → 193
193Level 193: The Hall Split
View Guide → 194
194Level 194: The Lane Chain
View Guide → 195
195Level 195: The Corridor Finish
View Guide → 196
196Level 196: The Color Passage
View Guide → 197
197Level 197: The Hall Order
View Guide → 198
198Level 198: The Lane Rush
View Guide → 199
199Level 199: The Passage Finish
View Guide → 200
200Level 200: The Corridor Rush
View Guide → 201
201Level 201: The Dense Grid
View Guide → 202
202Level 202: The Full Mesh
View Guide → 203
203Level 203: The Grid Rush
View Guide → 204
204Level 204: The Mesh Clear
View Guide → 205
205Level 205: The Dense Fill
View Guide → 206
206Level 206: The Grid Order
View Guide → 207
207Level 207: The Full Density
View Guide → 208
208Level 208: The Mesh Split
View Guide → 209
209Level 209: The Grid Chain
View Guide → 210
210Level 210: The Dense Sweep
View Guide → 211
211Level 211: The Full Grid Clear
View Guide → 212
212Level 212: The Mesh Order
View Guide → 213
213Level 213: The Grid Finish
View Guide → 214
214Level 214: The Dense Order
View Guide → 215
215Level 215: The Mesh Rush
View Guide → 216
216Level 216: The Grid Cascade
View Guide → 217
217Level 217: The Full Clear
View Guide → 218
218Level 218: The Dense Rush
View Guide → 219
219Level 219: The Mesh Finish
View Guide → 220
220Level 220: The Grid Surge
View Guide → 221
221Level 221: The Chain Sweep
View Guide → 222
222Level 222: The Link Clear
View Guide → 223
223Level 223: The Chain Rush
View Guide → 224
224Level 224: The Link Order
View Guide → 225
225Level 225: The Clear Chain
View Guide → 226
226Level 226: The Chain Finish
View Guide → 227
227Level 227: The Link Sweep
View Guide → 228
228Level 228: The Rush Chain
View Guide → 229
229Level 229: The Clear Rush
View Guide → 230
230Level 230: The Link Finish
View Guide → 231
231Level 231: The Chain Cascade
View Guide → 232
232Level 232: The Link Rush
View Guide → 233
233Level 233: The Sweep Chain
View Guide → 234
234Level 234: The Rush Clear
View Guide → 235
235Level 235: The Finish Chain
View Guide → 236
236Level 236: The Link Cascade
View Guide → 237
237Level 237: The Maroon Pair
View Guide → 238
238Level 238: The Chain Surge
View Guide → 239
239Level 239: The Link Surge
View Guide → 240
240Level 240: The Rush Finish
View Guide → 241
241Level 241: The Ultimate Gate
View Guide → 242
242Level 242: The Final Trial
View Guide → 243
243Level 243: The Hard Press
View Guide → 244
244Level 244: The Master Order
View Guide → 245
245Level 245: The Ultimate Split
View Guide → 246
246Level 246: The Final Gate
View Guide → 247
247Level 247: The Master Chain
View Guide → 248
248Level 248: The Hard Finish
View Guide →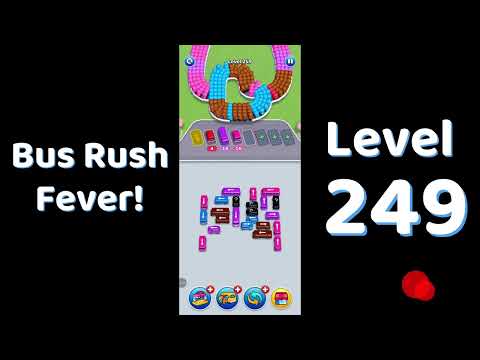 249
249Level 249: The Ultimate Chain
View Guide → 250
250Level 250: The Final Rush
View Guide → 251
251Level 251: The Master Wave
View Guide → 252
252Level 252: The Hard Cascade
View Guide → 253
253Level 253: The Ultimate Order
View Guide → 254
254Level 254: The Final Sweep
View Guide → 255
255Level 255: The Master Rush
View Guide → 256
256Level 256: The Hard Order
View Guide → 257
257Level 257: The Ultimate Rush
View Guide → 258
258Level 258: The Final Cascade
View Guide → 259
259Level 259: The Master Finish
View Guide → 260
260Level 260: The Ultimate Sweep
View Guide → 261
261Level 261: The Mixed Order
View Guide → 262
262Level 262: The Combo Wave
View Guide → 263
263Level 263: The Double Gate
View Guide → 264
264Level 264: The Twin Order
View Guide → 265
265Level 265: The Combo Chain
View Guide → 266
266Level 266: The Mixed Rush
View Guide → 267
267Level 267: The Double Chain
View Guide →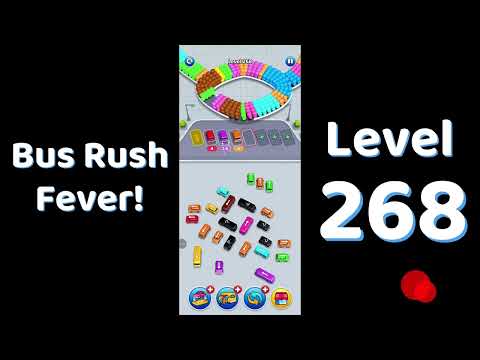 268
268Level 268: The Twin Rush
View Guide → 269
269Level 269: The Combo Finish
View Guide → 270
270Level 270: The Mixed Cascade
View Guide → 271
271Level 271: The Double Sweep
View Guide →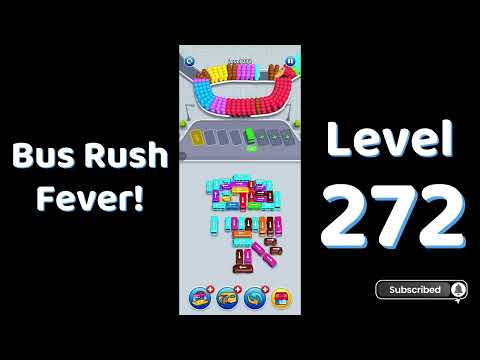 272
272Level 272: The Twin Cascade
View Guide → 273
273Level 273: The Combo Sweep
View Guide → 274
274Level 274: The Mixed Finish
View Guide → 275
275Level 275: The Double Rush
View Guide → 276
276Level 276: The Twin Finish
View Guide → 277
277Level 277: The Combo Order
View Guide → 278
278Level 278: The Mixed Wave
View Guide → 279
279Level 279: The Double Cascade
View Guide →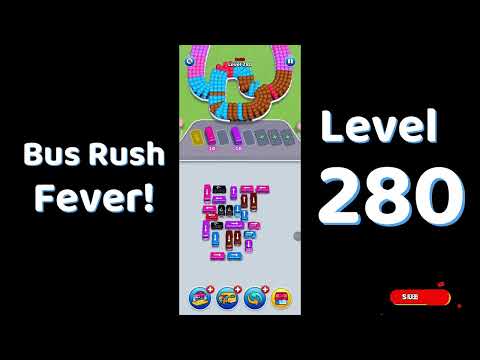 280
280Level 280: The Lime Trio
View Guide → 281
281Level 281: The Final Stretch
View Guide → 282
282Level 282: The Last Gate
View Guide → 283
283Level 283: The End Run
View Guide → 284
284Level 284: The Final Push
View Guide → 285
285Level 285: The Last Chain
View Guide →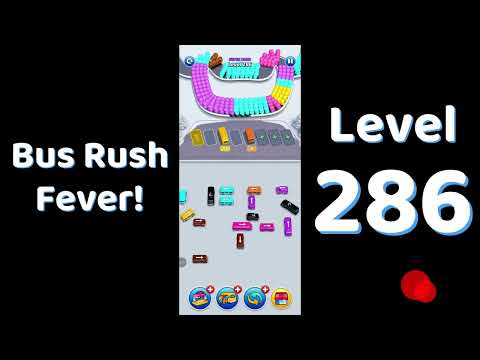 286
286Level 286: The End Sweep
View Guide → 287
287Level 287: The Navy Quartet
View Guide → 288
288Level 288: The Last Rush
View Guide → 289
289Level 289: The End Order
View Guide → 290
290Level 290: The Final Surge
View Guide →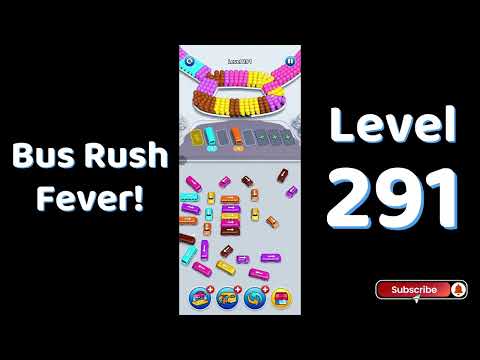 291
291Level 291: The Last Wave
View Guide → 292
292Level 292: The End Finish
View Guide →Why Bus Traffic Fever Gets Under Your Skin
One part color-matching, one part parking-logic, and a dash of queue reading. Here's what makes every level a tiny puzzle worth solving.
Parking-Slot Logic
Send the right bus to the right slot. One wrong park boxes you in; one clean sequence clears the level.
Color-Matched Passengers
Every waiting group has a color. Dispatch the matching bus to board them and free the space.
Queue Reading
The front of the queue tells you the next move. Read it before every dispatch, not just the first.
One-Tap Dispatch
Simple one-tap controls anyone can pick up in seconds — the depth is in the ordering, not the timing.
Progressive Levels
Start with two buses and climb toward six-color runs where one wrong dispatch stalls the whole level.
Quick Sessions
Bite-size brain teasers built for a bus stop, a lunch break, or a quick solve before bed. No long campaign, no commit.
What Is Bus Traffic Fever?
Bus Traffic Fever is a color-matching parking puzzle by GOODROID, Inc. You start with a line of colored buses and a queue of colored passenger groups. Your job is to dispatch each bus in the right order — send the bus whose color matches the group at the front of the queue into a parking slot, board the passengers, and clear every vehicle before the level locks up.
The hook is the chain reaction. Every dispatch changes which bus is exposed, so the "obvious" bus is rarely the right one to send first. Clear the wrong vehicle and you'll jam the slots; clear the right one and the whole level unwinds in a single satisfying sequence. That's why so many players stall on the same few levels and go hunting for a walkthrough.
This site is an independent fan guide — not the official game. We collect level walkthroughs, dispatch-order notes, and safe download links so you can get unstuck without losing your place or your patience.
Publisher — GOODROID, Inc., available on Google Play and the App Store.
Free to play — ad-supported; optional purchases vary by region and version.
290+ levels — from open lots to full traffic-fever gridlock.
Mobile-first — short stages made for one-hand play on the go.
How to Play Bus Traffic Fever
Clear a level in five moves of thinking. Master the dispatch order and even the busiest queue becomes a straight line.
Read the front color
Look at the passenger group at the front of the queue first. That color tells you which bus to dispatch.
Dispatch the matching bus
Send the bus in that color to an open parking slot. It boards the group and frees the space.
Clear blocked buses in order
If the bus you need is parked behind another, clear the exposed one first so the path opens.
Re-read the queue
After every dispatch, check which color is now at the front. The next move always follows the queue.
Keep a slot open
Never fill the last parking slot with a color that is not up yet. If the level locks, restart and follow the queue.
Bus Traffic Fever Strategy Tips
The levels that trap most players aren't the biggest — they're the ones where the right first dispatch isn't obvious. These five habits unstick most of them.
1. Match the front color
The queue always tells you the next move. Dispatch the bus that matches the front group before anything else.
2. Think two dispatches ahead
A good dispatch exposes the next bus, not just the current one. If a clear only helps right now, look for a better first move.
3. Hold one slot open
Keeping a parking slot free gives you room to recover from a crowded level. Treat it as your escape route.
4. Clear repeats as they come
When a color returns for a second group, clear it in turn — do not batch the two together.
5. Use the guide as a dispatch check
On the known walls like 26, 28 and 40, pause after each dispatch and compare your level to the walkthrough before continuing.
Get Bus Traffic Fever
Free on the official app stores. Verify the publisher (GOODROID, Inc.) before you install, and skip random APK mirrors.
Bus Traffic Fever FAQ
Short answers to the questions players ask most before opening a walkthrough.
What is Bus Traffic Fever?
Bus Traffic Fever is a color-matching parking puzzle by GOODROID, Inc. You dispatch colored buses into parking slots to board matching passenger groups, clearing the queue until every vehicle is out and the level is empty.
How do I get past a stuck Bus Traffic Fever level?
Read the front passenger color, dispatch the matching bus, and re-read the queue after every clear. If the level still locks up, open the matching level guide here and follow the dispatch order.
Is Bus Traffic Fever free to download?
Yes. Bus Traffic Fever is free to download from Google Play and the App Store, though ads and optional in-app purchases may vary by region and app version.
Which Bus Traffic Fever levels are the hardest?
Many players stall on early-to-mid levels such as 26 and 28, and on late stages around 180 where six-color queues leave little room for error. Every guide here lists the dispatch order so you can replay the exact sequence.
Can I play Bus Traffic Fever offline?
Most casual levels can be played offline, but ads, updates, and some features require a connection. Check the app listing for the latest offline behavior on your device.
Is this the official Bus Traffic Fever website?
No. This is an independent fan guide with level walkthroughs and tips. It is not affiliated with, endorsed by, or connected to GOODROID, Inc. Use the official app stores to download the game.